Here’s Your Introduction To Soft Pastels Guide!

Rebecca de Mendonça
Rebecca is a Unison Colour Associate Artist, and established art tutor, who runs her own workshops and courses. Her expert guidance will set you off to the perfect start in pastel.
You can download the PDF using the link at the end, and below is the full contents of the guide along with some video demonstrations.
Enjoy!
Getting Started
Why Use Pastels?
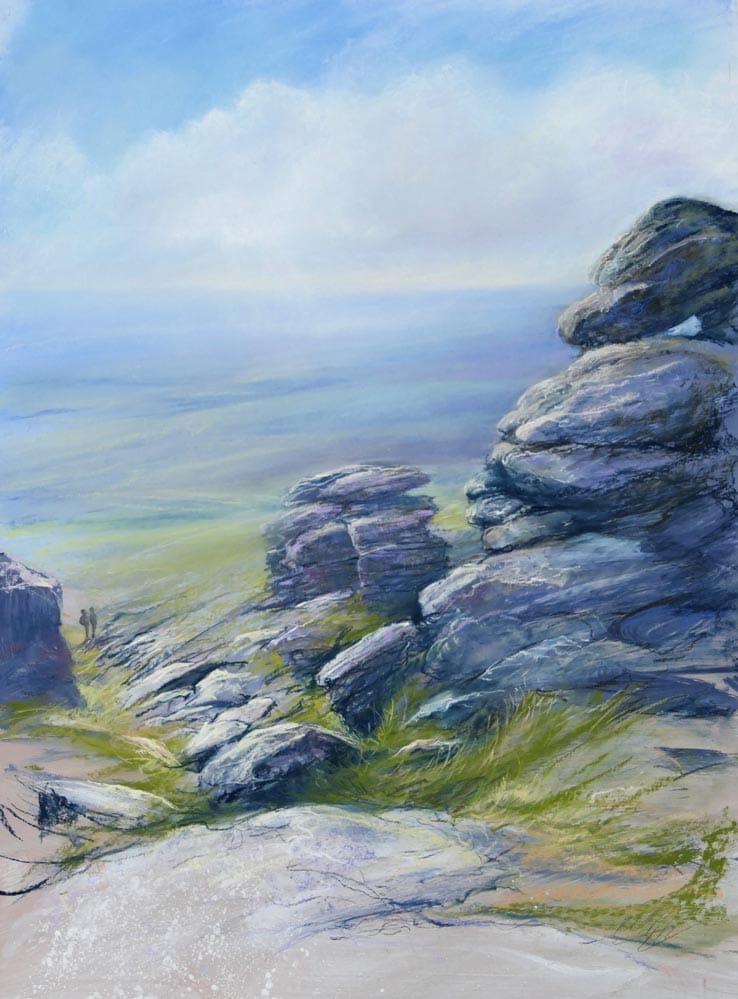
- Because they are beautiful! – Unison Colour pastels are made of pure pigment, and are beautiful just to look at, even before you pick them up.
- Because pastels are versatile and forgiving. You can use them in lots of different ways.
- Because they don’t dry out, and are easily transportable.
Is It Drawing Or Painting?
It’s Both!
- Depending on the way you use them, you can draw and paint with pastels, and produce work that ranges from detailed and delicate sketches to vibrant and expressive paintings.
- You hold the pigment in your hand, so can work immediately and directly, with no drying times to slow you down.
- You can combine several techniques, work in layers, and rub out or go over areas that you don’t like.
What is Pastel?
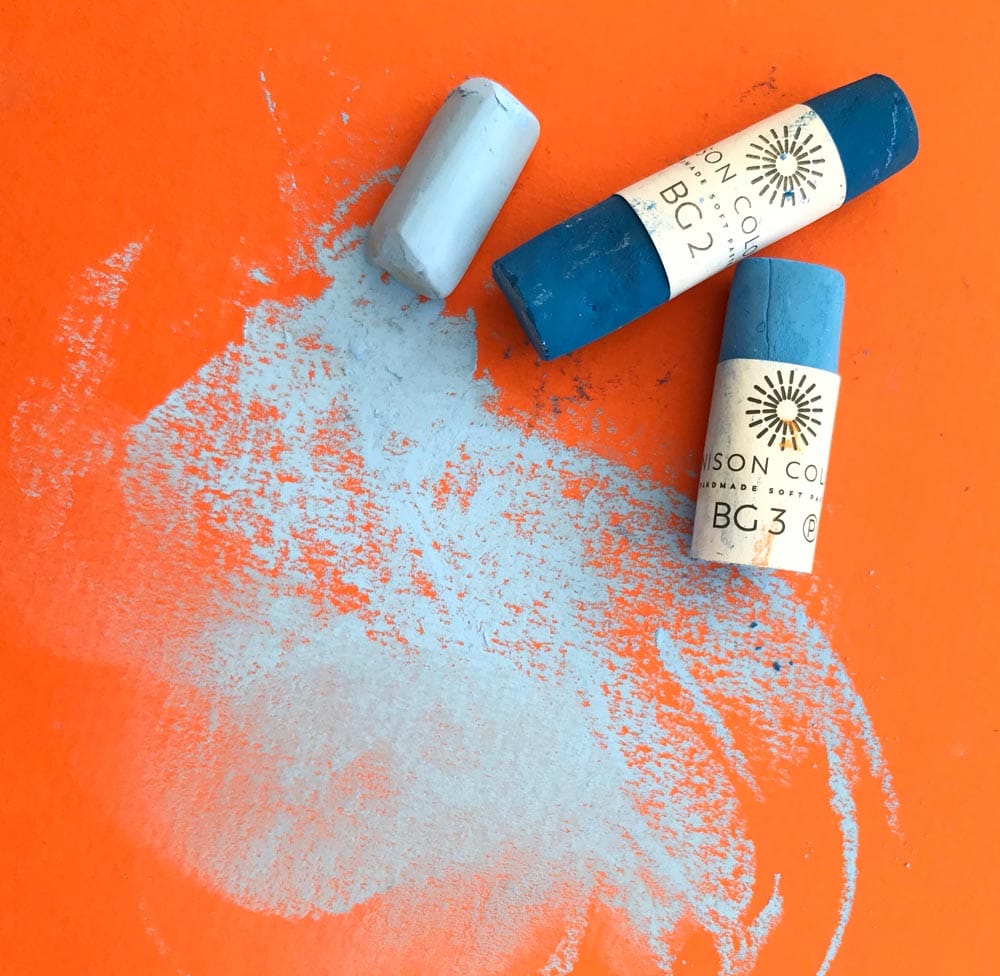
A good quality pastel is a mixture of premium pigment and very little binder.
At Unison Colour, the pigment and binder are mixed with water to form a paste, then as they dry and form a dough, they are rolled into shape, and left to dry.
How many pastels do I need?
Using pastels is a bit different here to paints; although you can mix them, you need more than 3 primary colours. A mixed set of 30 half sticks is probably enough to get started with. You do not need the whole range, although that would be lovely!
Don’t be fooled into buying a set of cheap, ‘student quality’ pastels to get started, as they will not be made using pure pigments. They will not be light fast, and you won’t have a good range of colours and tones. You get what you pay for with art materials.
What surface should I work on?
There are a huge variety of pastel surfaces to choose from, and it can be confusing at first knowing what to use. For pastel work your surface needs enough ‘key’ (texture), or the pastel will slip around and not adhere.
It is easiest to start with pastel papers, such as Canson Mi-Tientes paper, or Winsor Universal paper. Some art suppliers have selection packs so that you can try a few and see which ones you like.
There are also many different types of textured surfaces, such as Clourfix primer, Sennelier Sand Card, Pastelmat, Velour, UArt and Canson Touch, to name but a few.
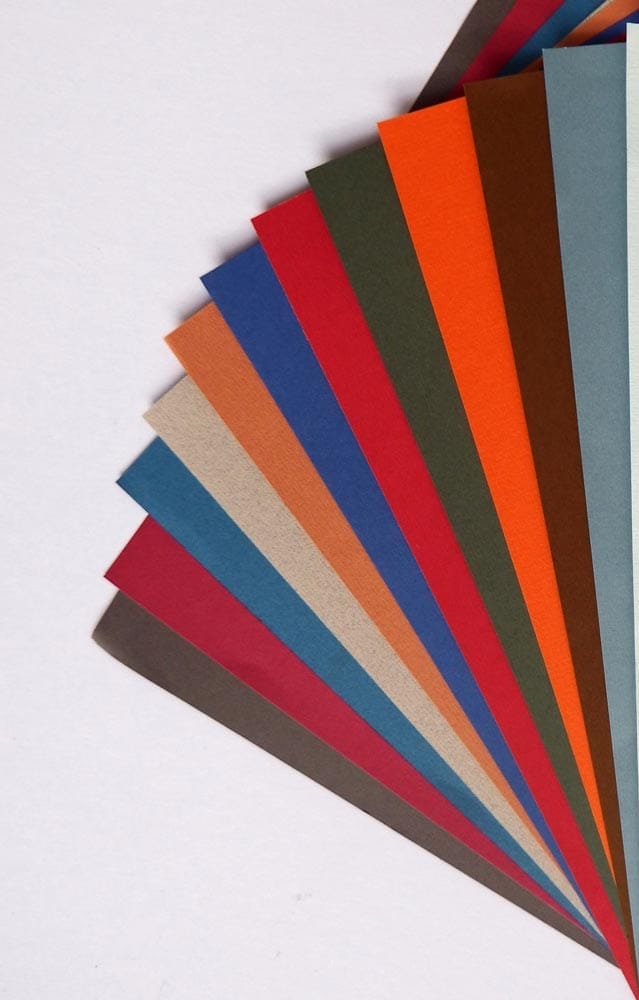
The lovely thing about pastel papers is that they are available in lots of different colours and tones.
For beginners the hardest colour to work on is white so try to avoid that and go for a mid-tone paper instead.
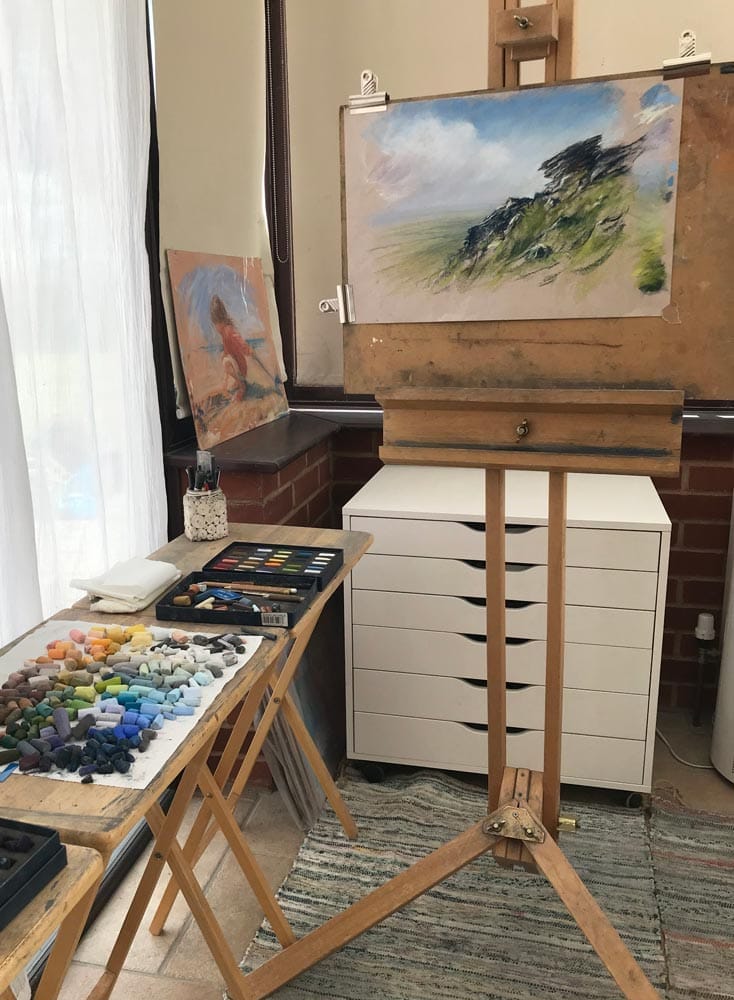
Your Workspace
Where can I work?
You don’t need much space at all… the end of a table, or a corner of a room are fine.
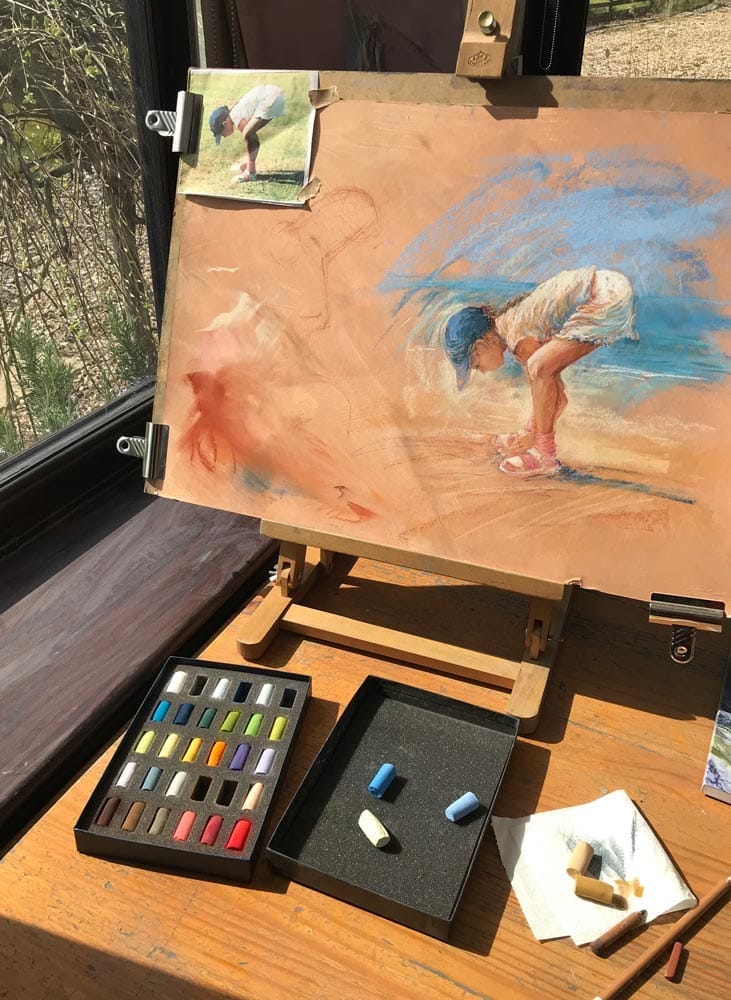
It’s best to work upright if you can, with a board on an easel, a table easel, or just rested on a pile of books. This means that any dust will drop down, and won’t pollute your work, and also that you can stand back regularly to review your work and see ‘the bigger picture’.
Is it very dusty?
You can minimize the fall-out by having a rug (or two!) underneath you on the floor that you can vacuum and wash sometimes.
The best thing about soft pastels is that they don’t smell or dry out, so you can work anywhere and walk away and leave your artwork set up. Do be careful of your pets though!
Protecting and storing your work
Pastel drawings and paintings are vulnerable to being damaged. You can spray them with fixative, although many artists prefer not to. The important thing is to cover them, either with a sheet of paper, cellophane or glassine paper, but also to fix it in place along one edge. This means that every time you lift the protective sheet to look at them, it will go back in the same place.
Cleaning your pastels
Don’t panic when your pastels get dirty! It is easy to cope with…
You can clean your pastels as you are using them, and afterwards, with soft tissue or a piece of cloth. Some people shake them in a tub of ground rice from time to time.
Don’t, however, clean them with wet tissue though, as this will seal the outside surface of the pastel so they won’t work properly.
Now let’s look at what we can do with them…
Making Marks and Getting Inspired
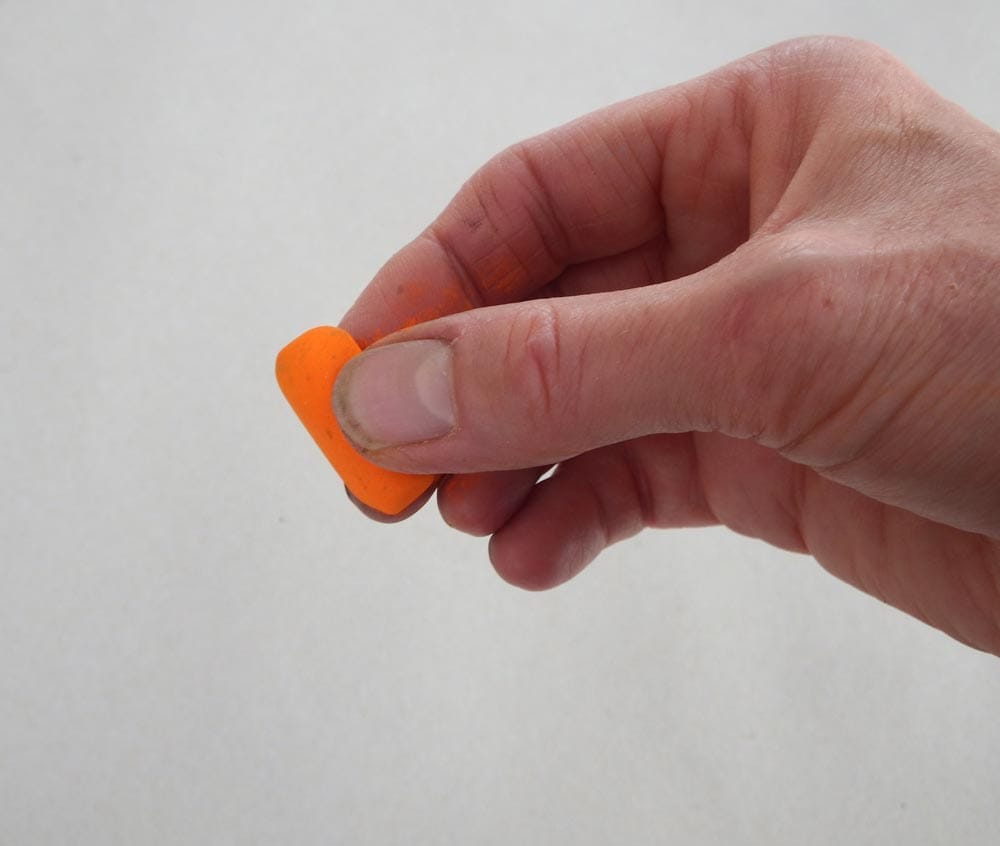
Limbering up
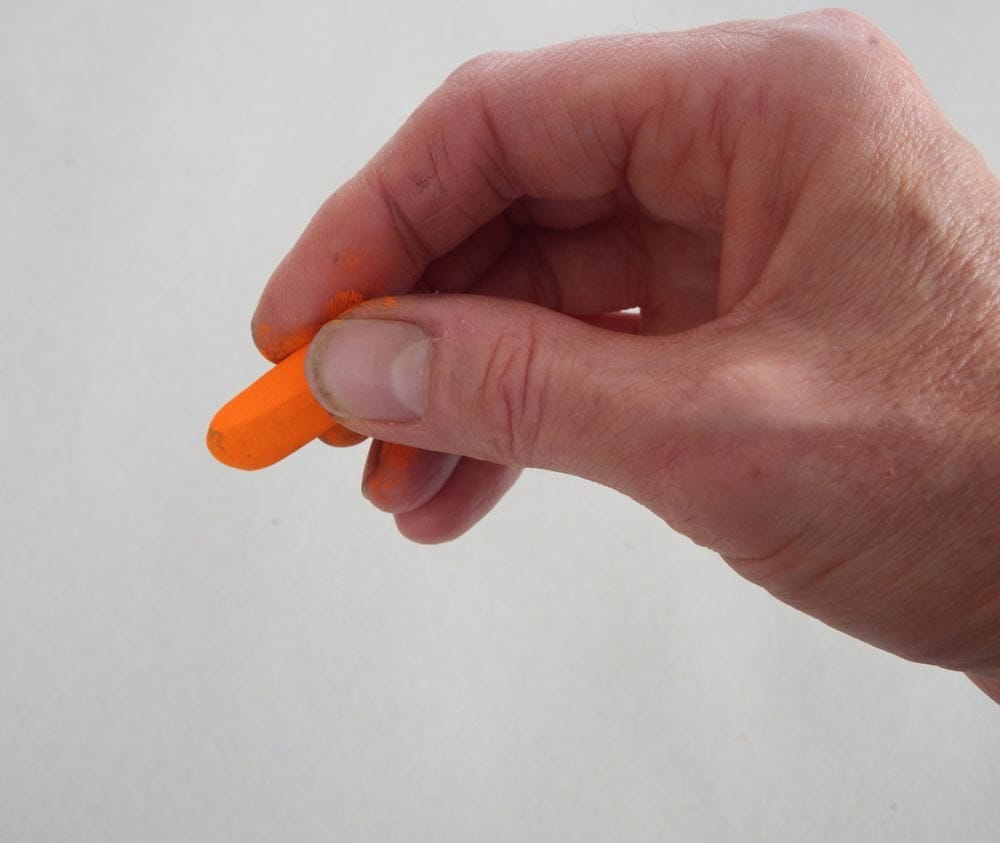
You can make lots of different marks with a pastel stick, especially if you take the label off. Then you can use the side, the end or the edge of it. You can break them in half unless you are working on a BIG piece of paper.
Time spent experimenting is worth its weight in gold. You can use the pastel stick on its side to make straight marks, or by twisting and turning it, or you can use it on its end to make little marks, dots and dashes. Vary the weight you apply. Try leaving the marks untouched in one area, and then blending and smudging in another. Notice the difference this makes.
Next, we’ll look at different techniques and marks individually. You can then combine these techniques in layers.
With all of the following techniques, try them with different amounts of pressure applied. By varying the pressure, you will really change the marks that you make…
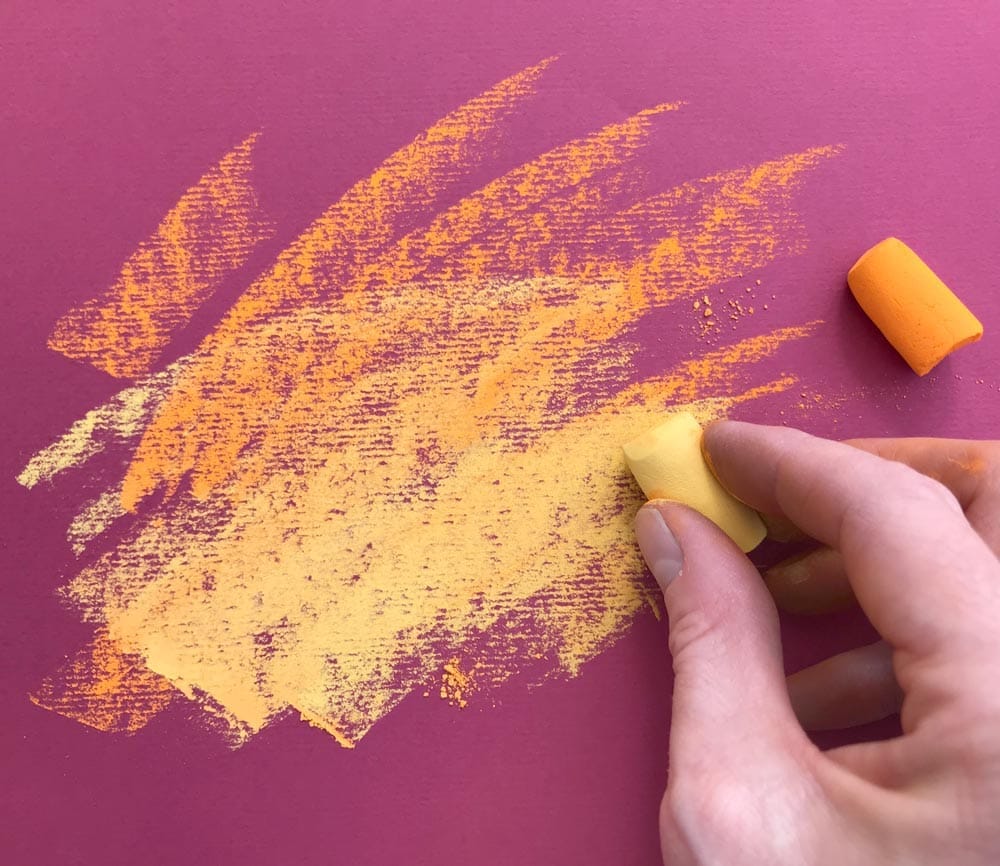
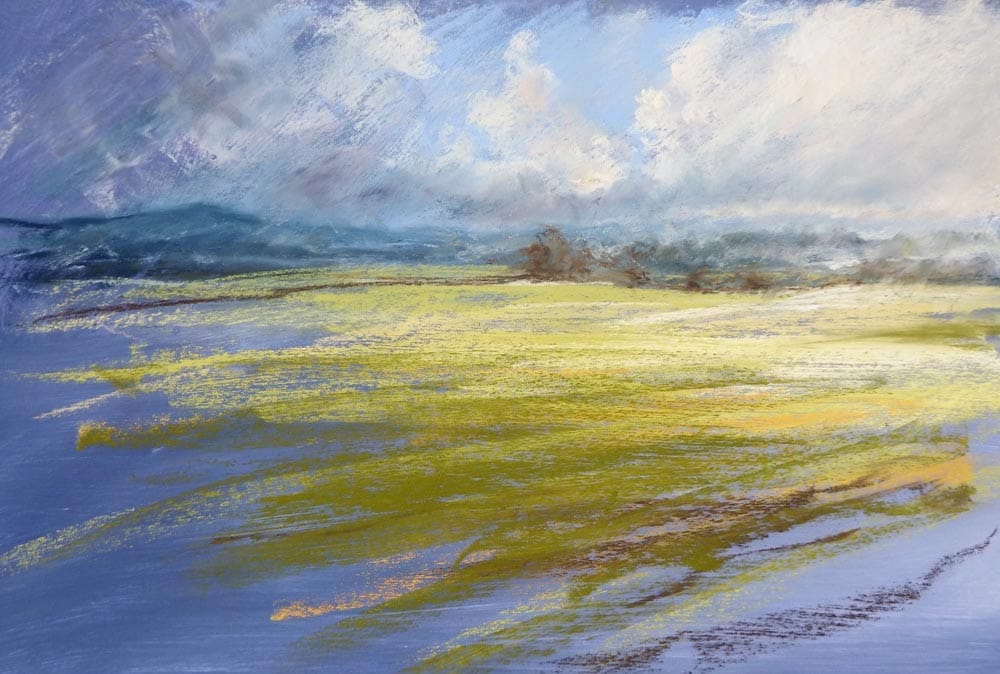
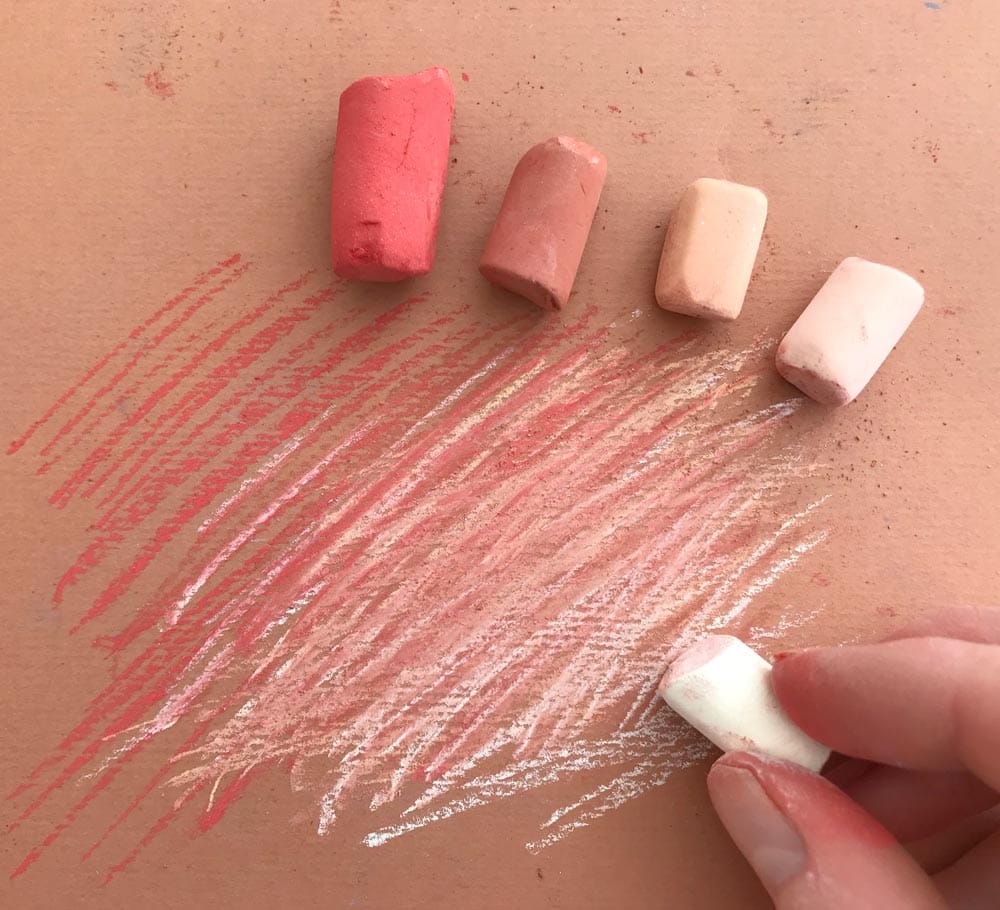
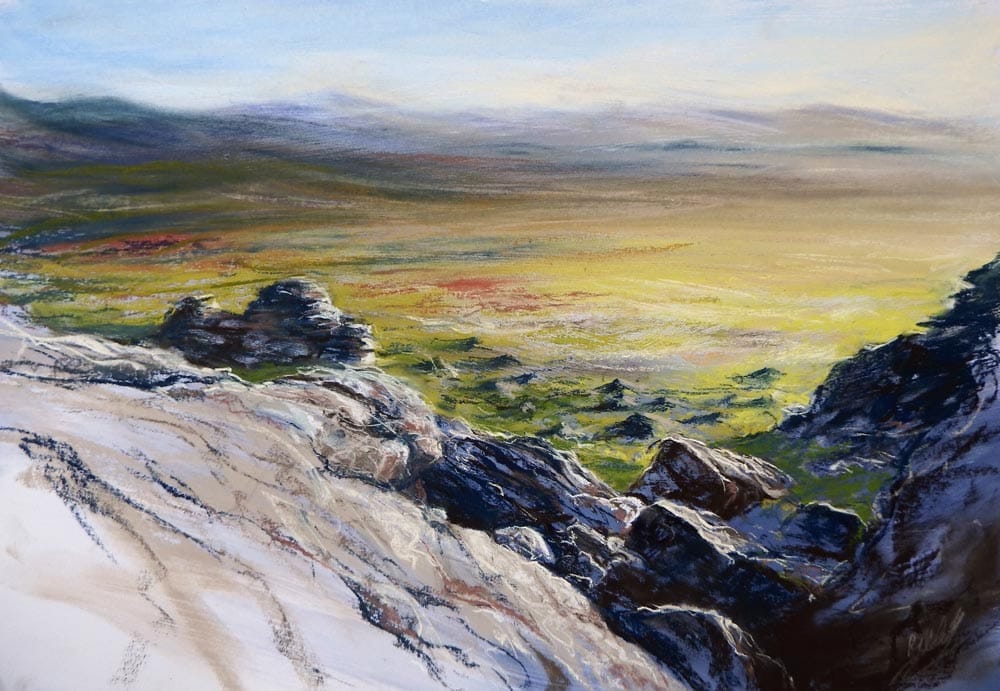
Broad energetic strokes
Using the pastel on its side, make sweeping strokes, painterly marks.
You can lay colours over each other, and even without smudging they blend and mix.
This is a great technique for expressive work, and to get movement and energy into your paintings.

Examples
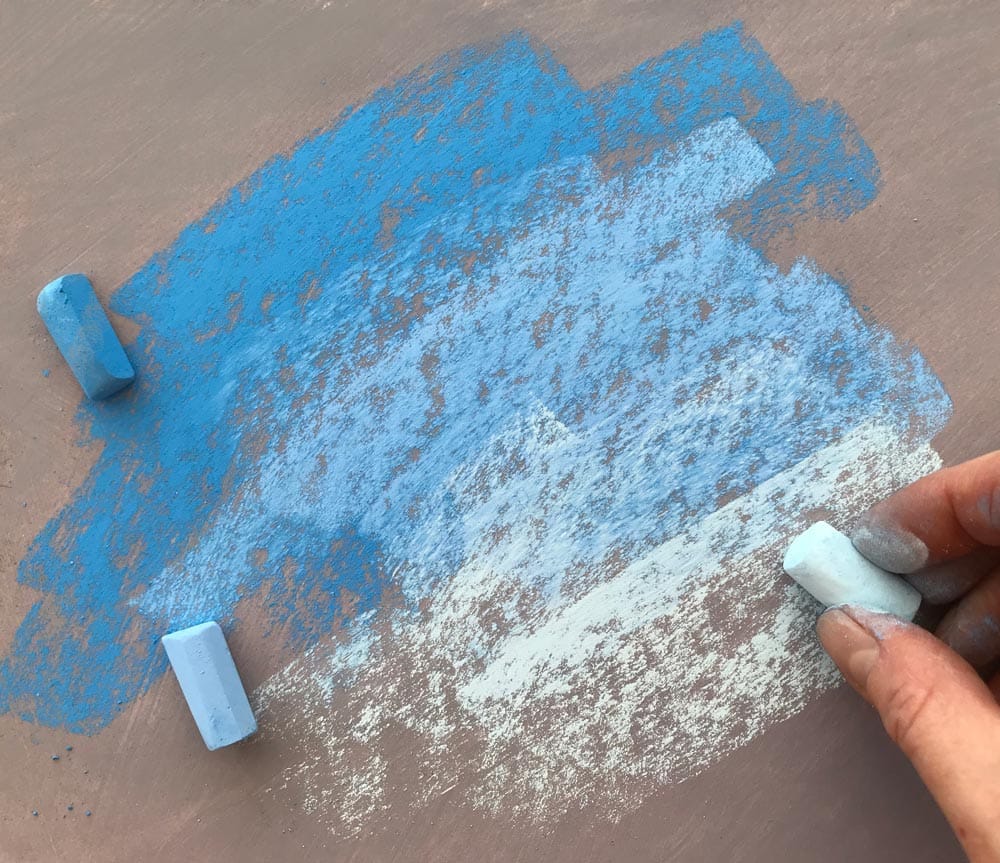
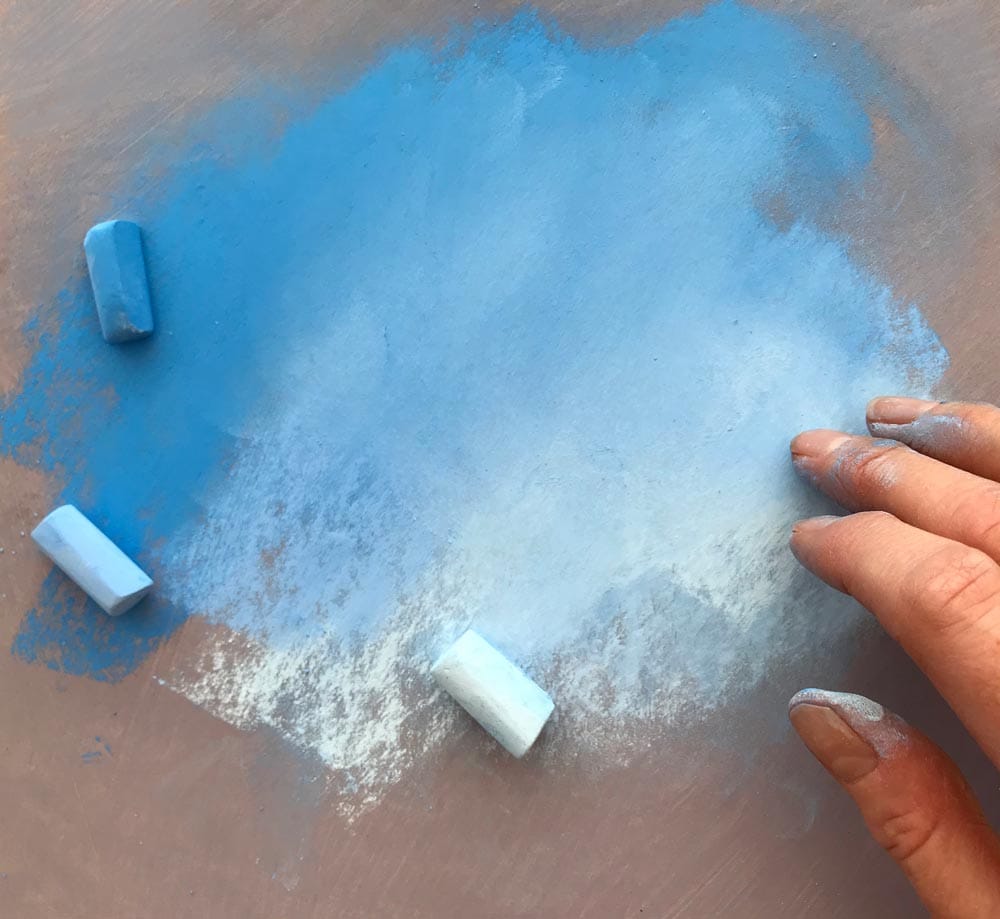
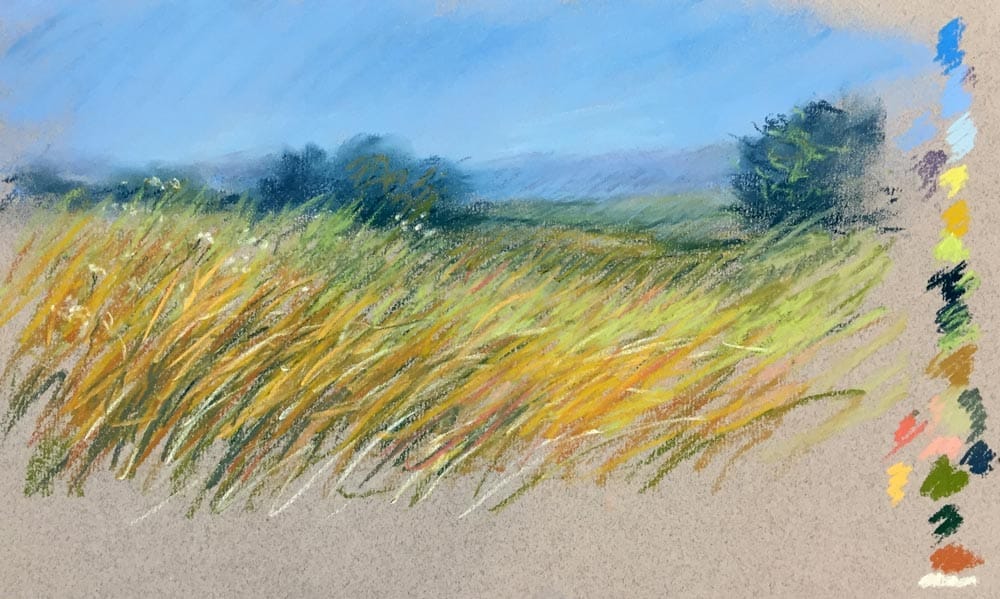
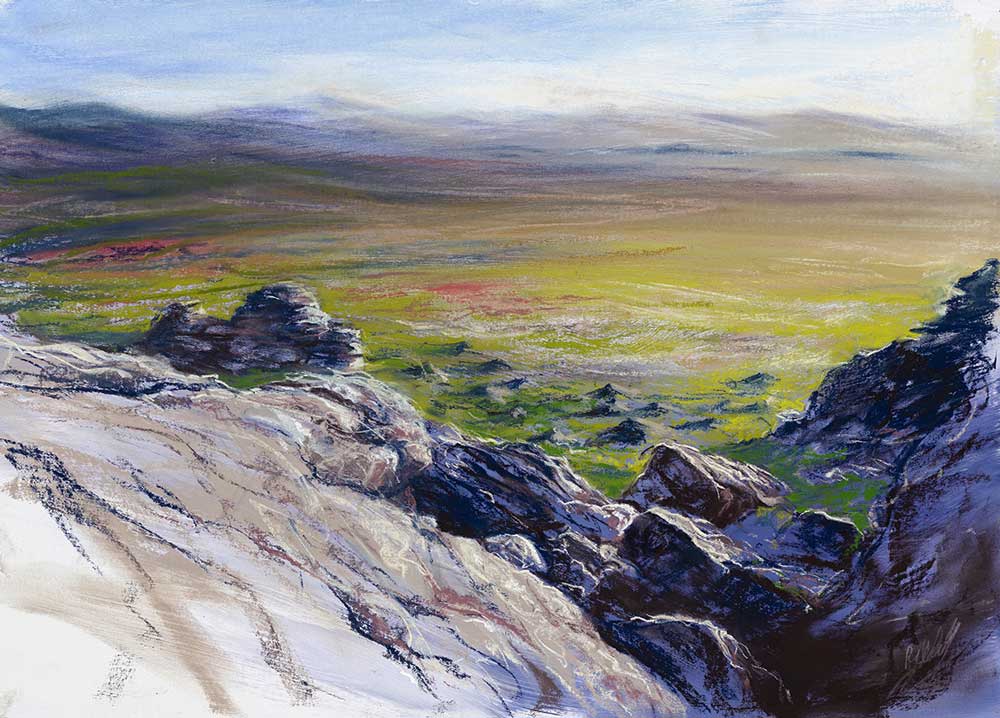
Smudging and Softening
Colours can also be blended by smudging and softening, to produce a smooth and gradual blend. Your fingers are the perfect tool for smudging.
This is a great techniques for skies, soft textures, or to depict smooth surfaces.
Examples
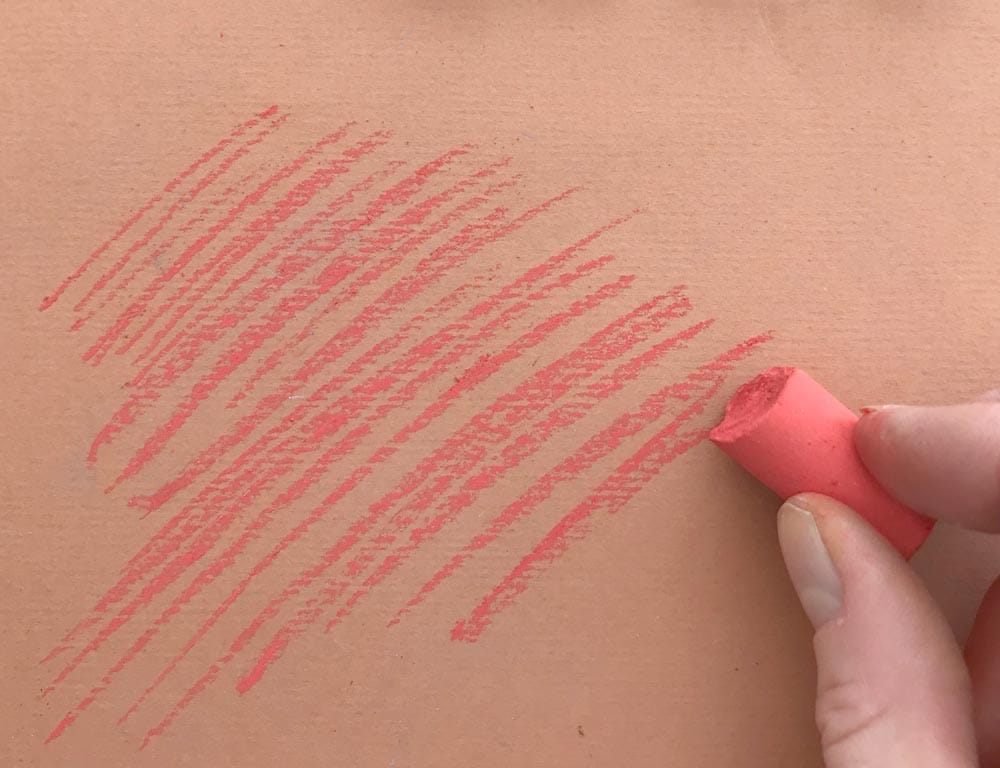
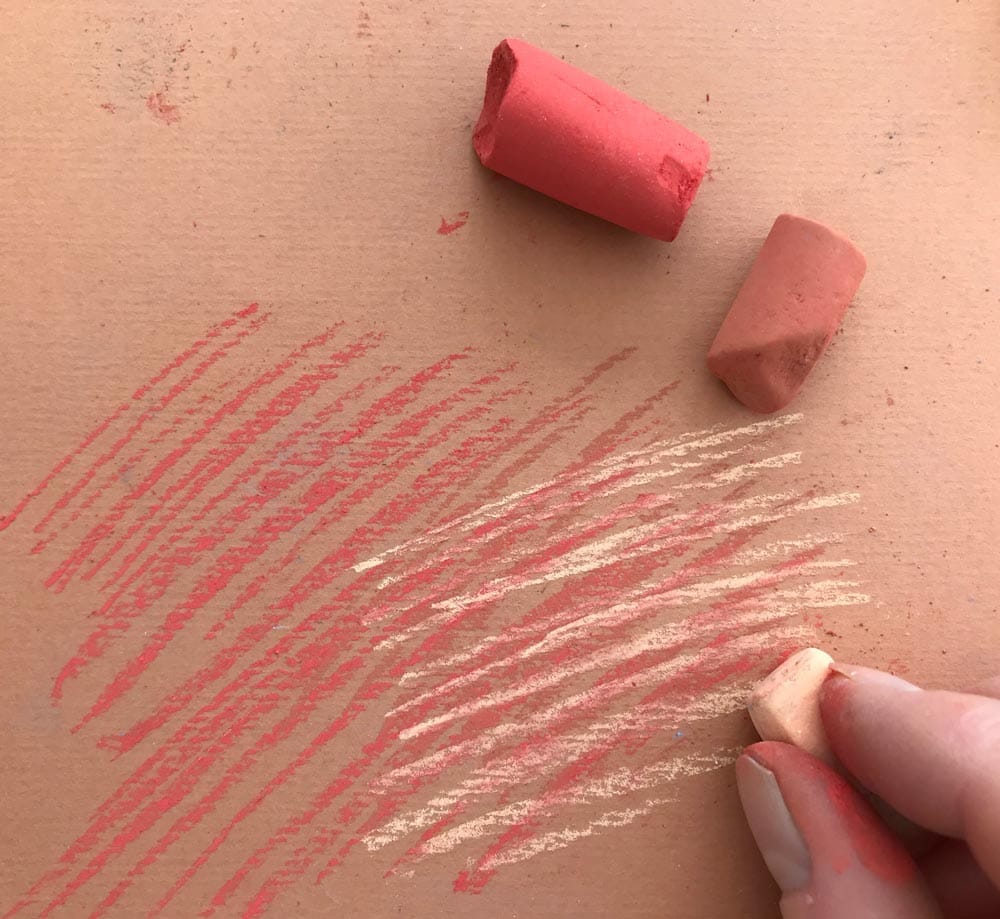
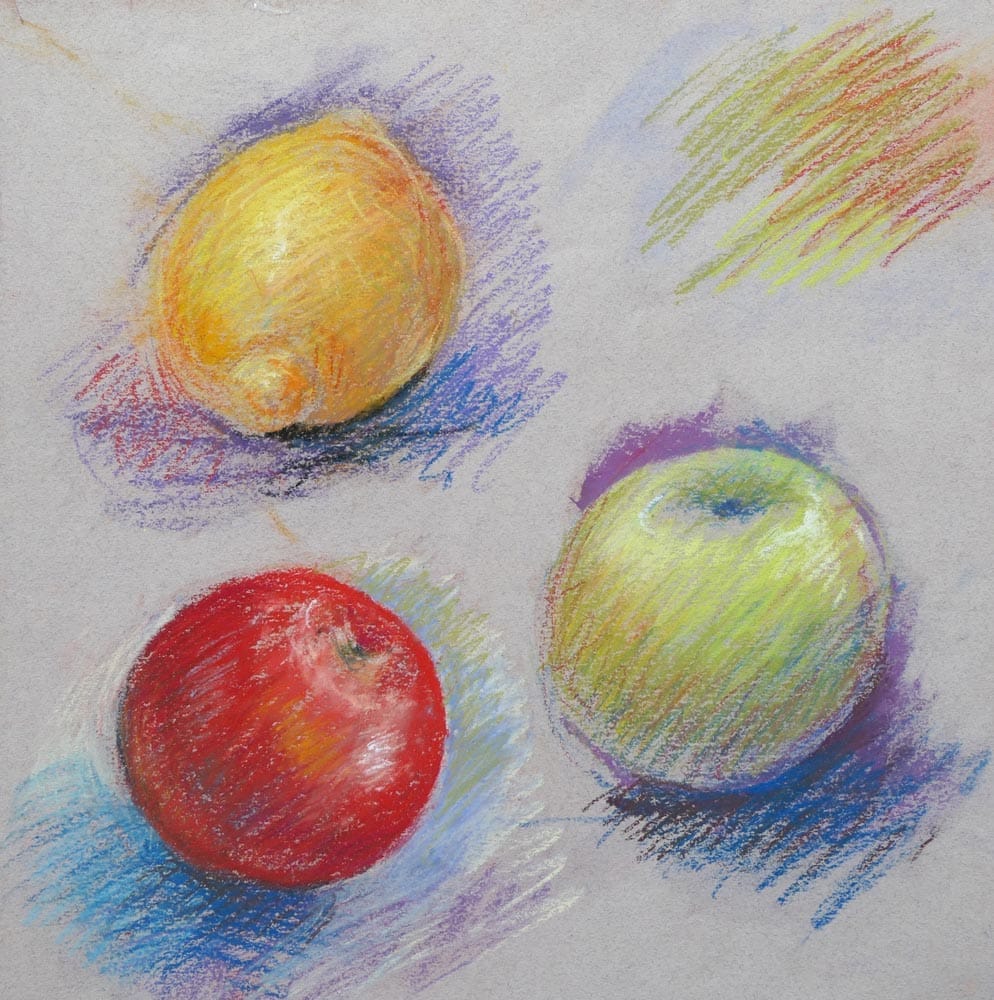
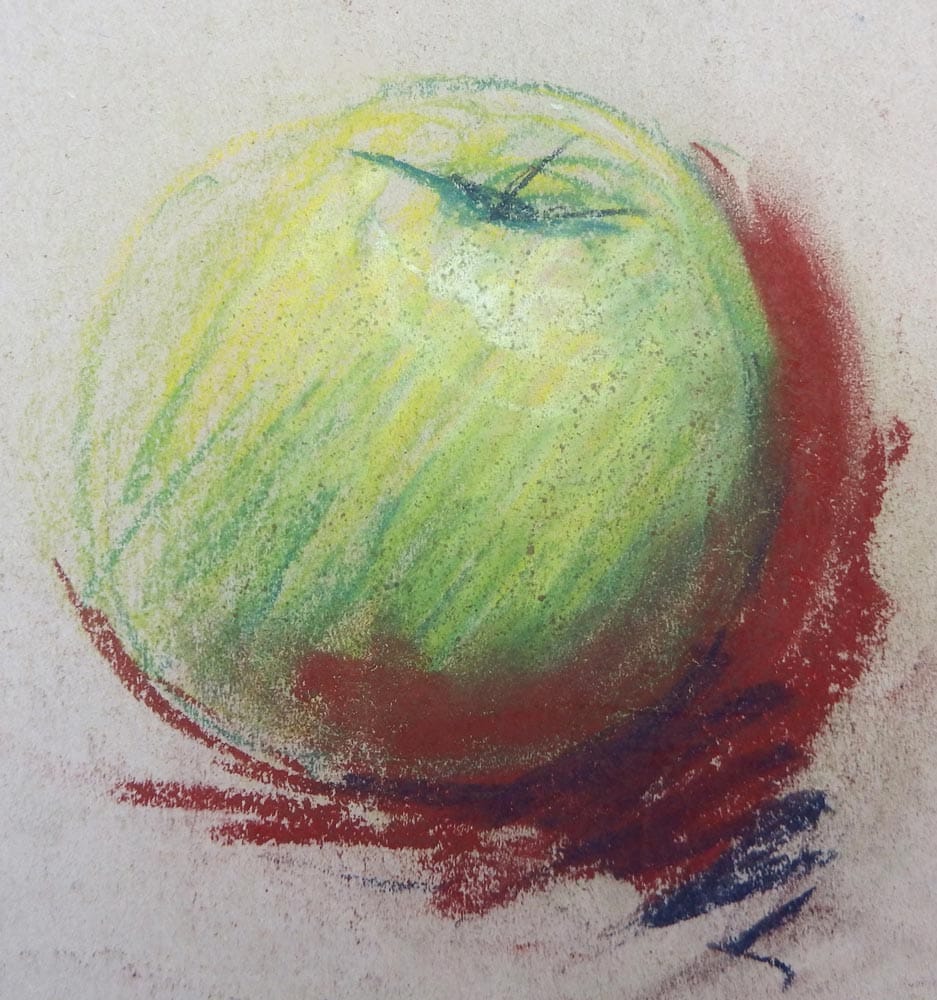
Hatching
You can hatch colours together by making lots of marks with the end of the pastel. As you lay marks of different colours over each other, they blend together, but you can still see all of the colours showing through in places.
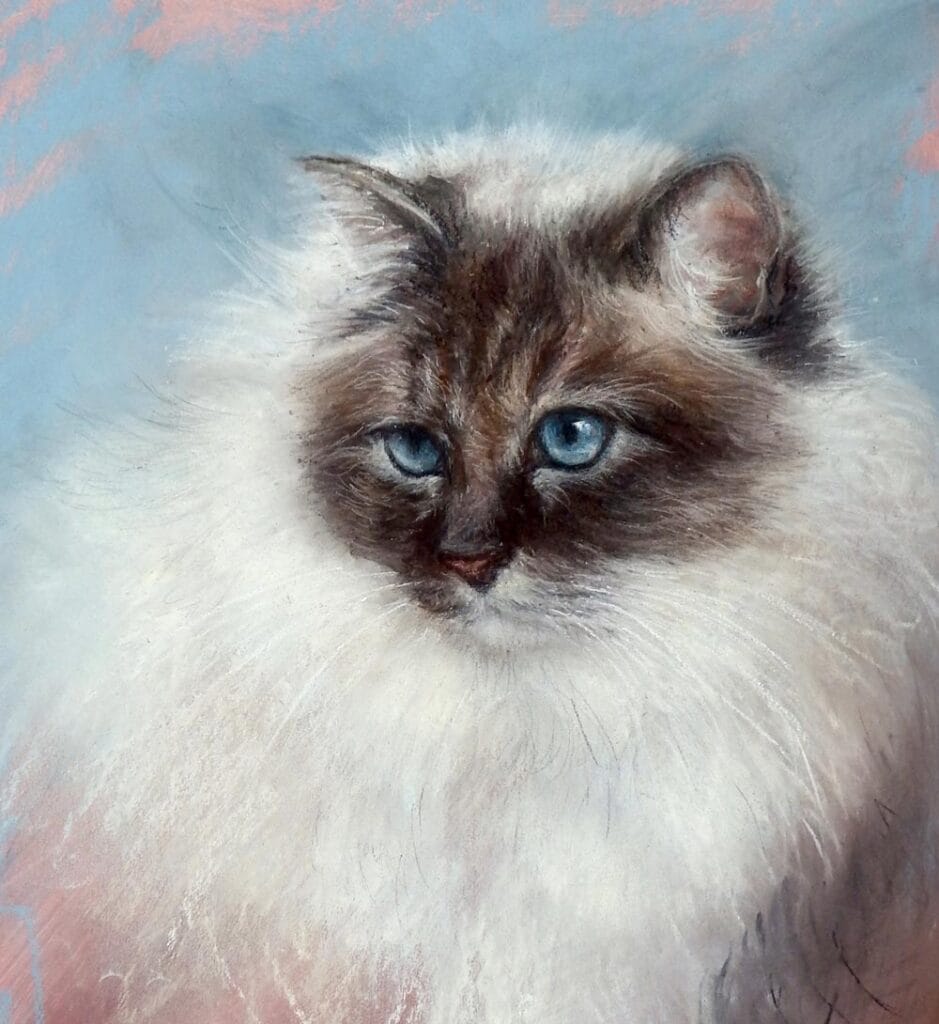
You don’t have to make the marks go in one direction. This is a useful and versatile technique for animal work, portraits, landscapes; in fact, all sorts of things.
Examples
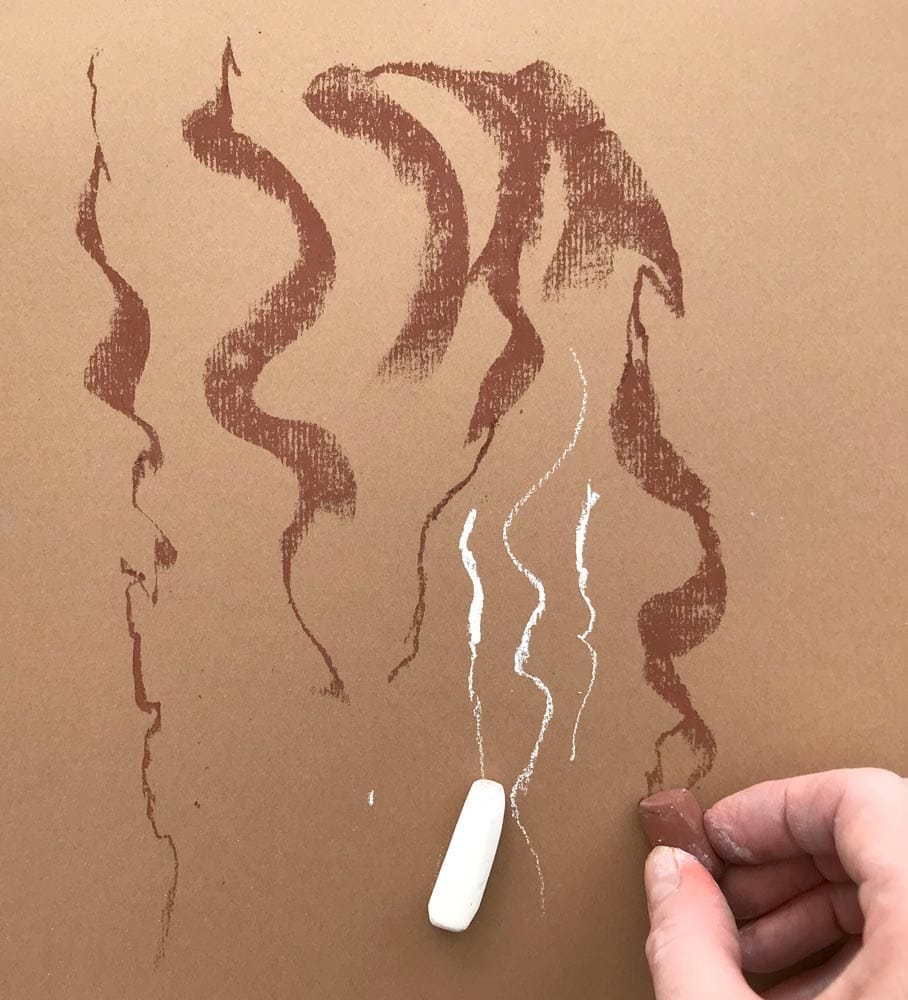
Twisting and Turning
By changing which part of the pastel you make your marks with, and twisting and turning it to make these changes, you can get varied and exciting marks.
Have a go, and notice the different qualities of mark that you can make. Imagine that you are making the pastel ‘dance’ on the paper, and keep varying the pressure that you apply.
Example
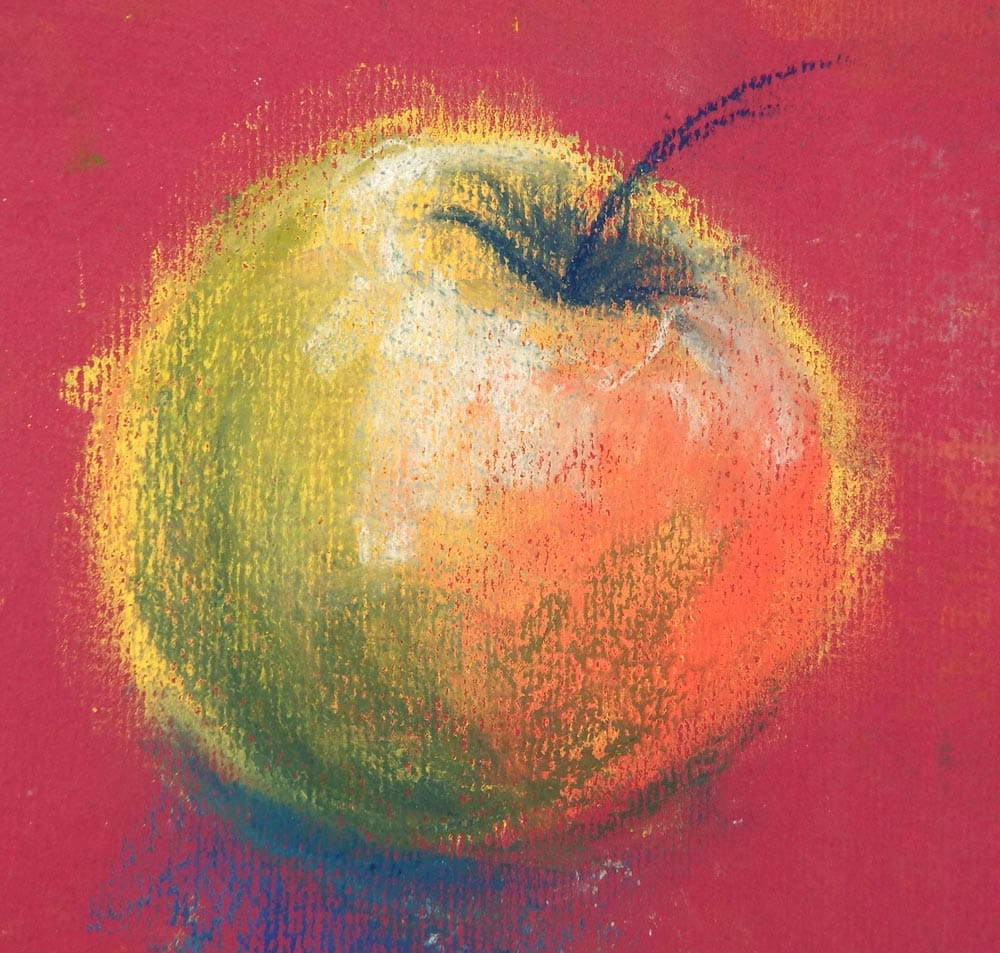
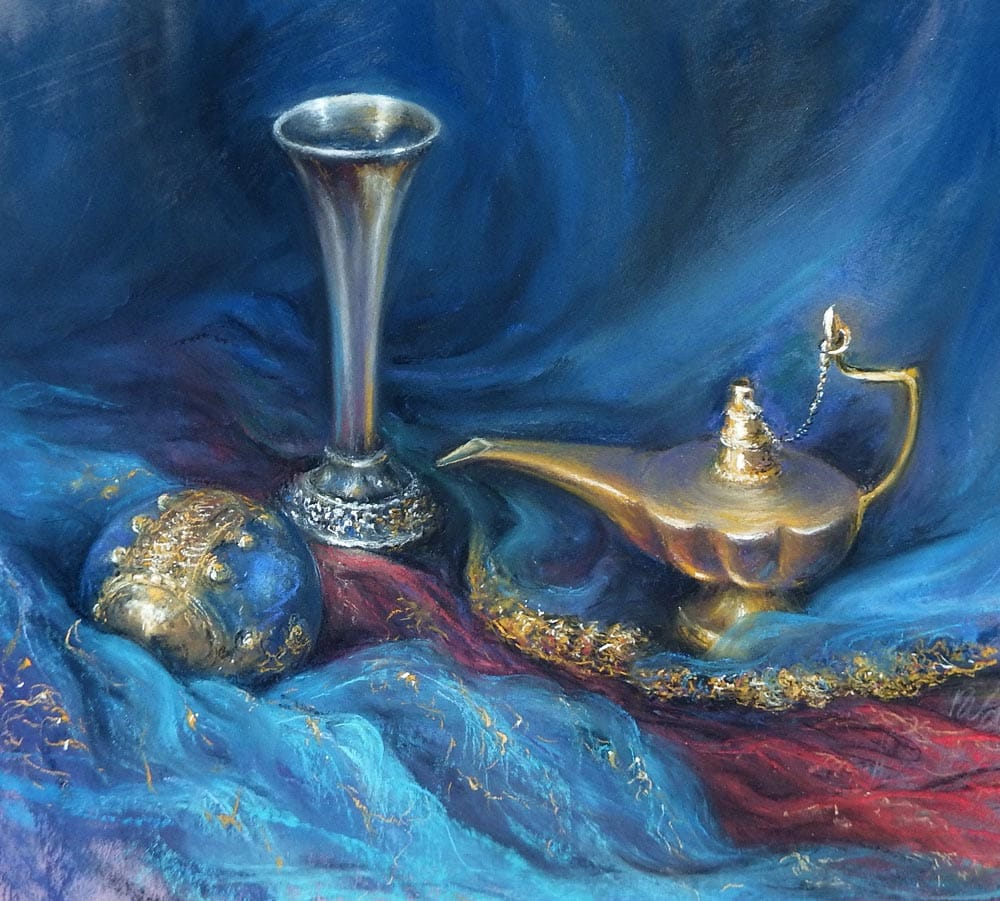
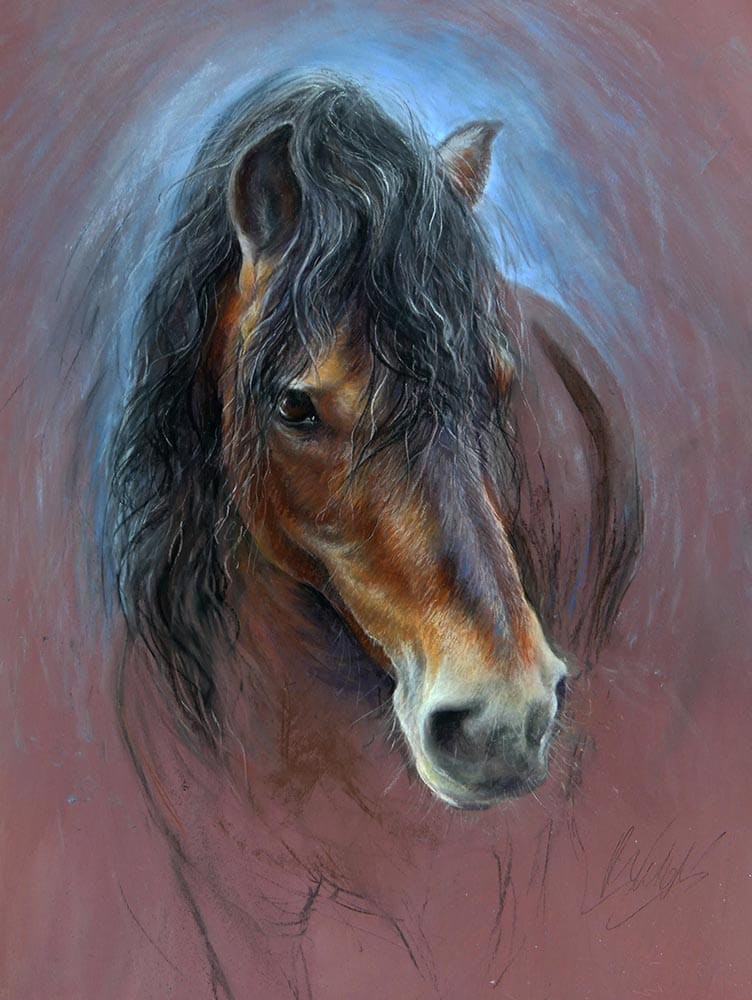
Combining techniques
You can combine these techniques, and draw and paint with pastels all in one piece of work. The possibilities are endless.
Here hatching is applied over a smudged base…
Examples
Download the PDF
Introduction To Soft Pastels
Get the free PDF version of this guide.
About Rebecca de Mendonça
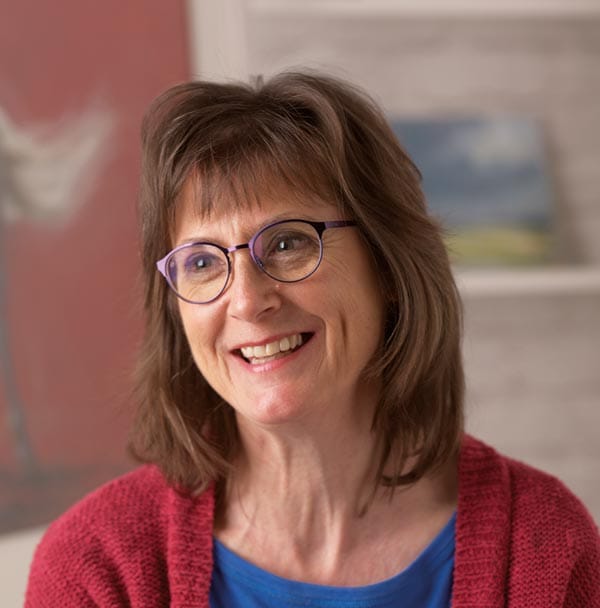
Rebecca is an Associate Artist of Unison Colour, and runs courses in the UK and Italy.
You’ll find Rebecca’s website at rebeccademendonca.co.uk
Rebecca’s Book
There is more information, projects and inspiration in Rebecca’s gorgeous full colour book, Pastels for the Absolute Beginner, published by Search Press.
Buy Pastels for the Absolute Beginner