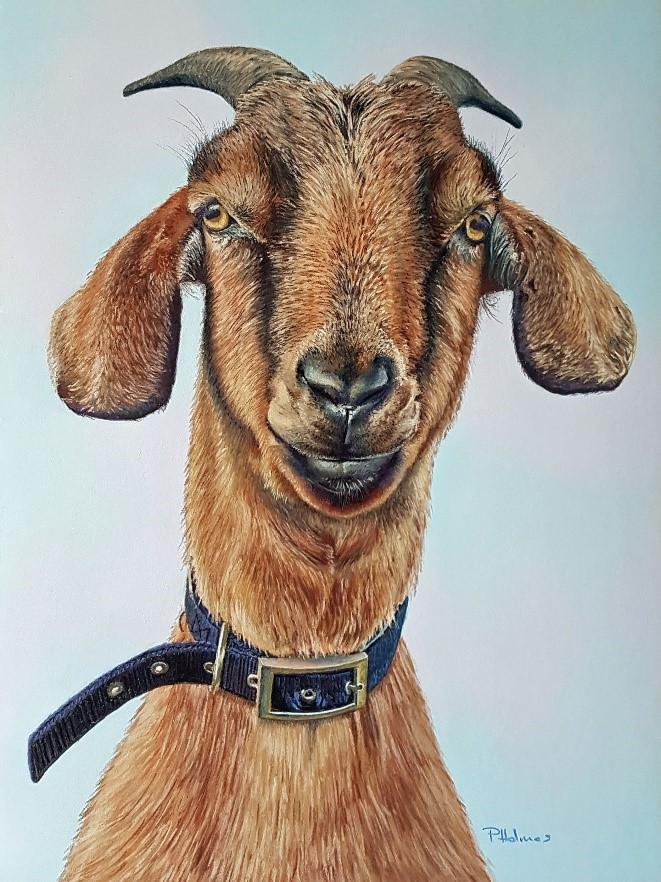
As an animal portrait artist I would like to take you through one of my paintings, I’ll say from the start that this is the way that I approach a portrait, over time you will find your own way of working and I always recommend that people attend workshops with a variety artists to pick up ideas and techniques which they can develop and incorporate into their own style.
So let’s get started.
Choosing my subject.
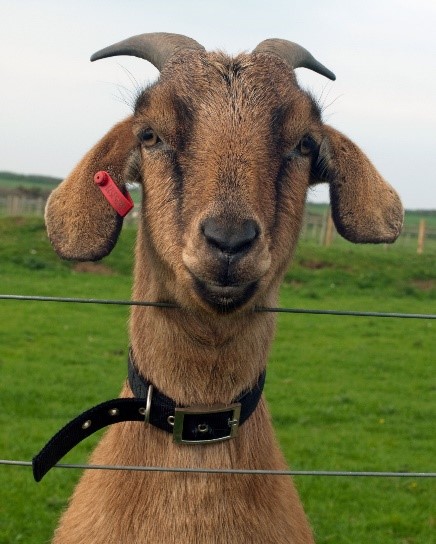
Unless I’m working on a commission, I use my own photographs, this brings back memories of the location, the character, colours, sketches I’ve made, textures, the weather, it is the feeling and emotion of the situation, all of which bring life to the subject.
I particularly enjoy painting farm animals, they are both familiar and unfamiliar and have great characters.
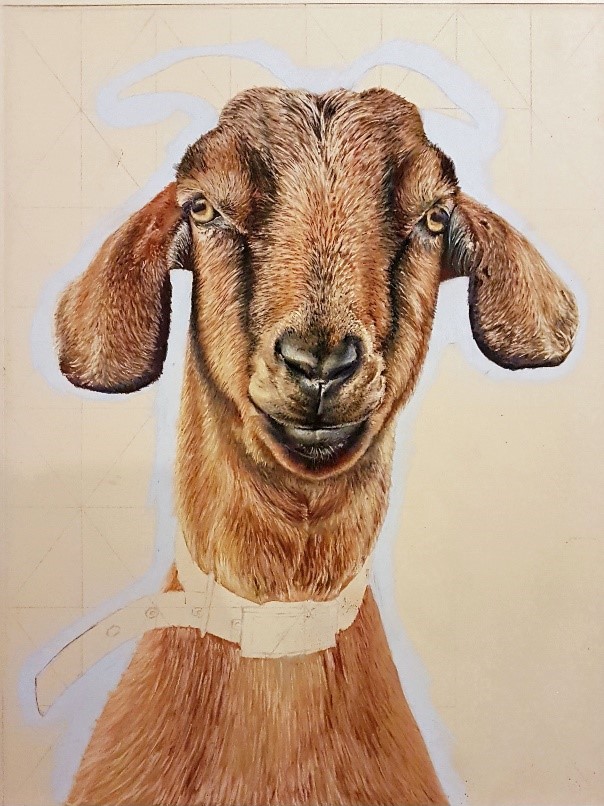
On a farm visit I spotted this cheeky chap and thought he’d make a great painting, he followed me along the fence line, stopping and looking, climbing up onto the fence and smiling, such a character just had to be painted.
Materials used.
For this painting I’ve used:
Fisher 400 paper
Colour shapers – round point – medium hardness
Daler Rowney hard pastel Intense Black 031
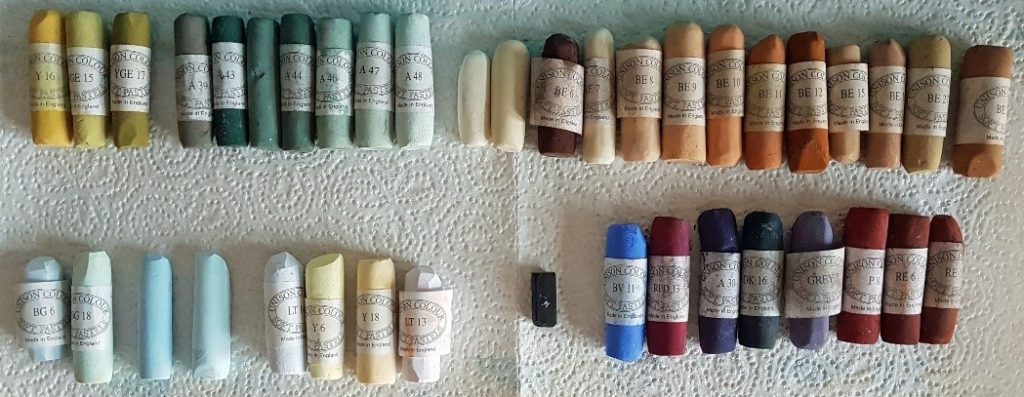
Unison Pastels
| Y16 | YGE15 | YGE17 | A39 | A43 |
| A45 | A44 | A46 | A47 | A48 |
| GREY26 | GREY24 | BE6 | BE7 | BE8 |
| BE9 | BE10 | BE11 | BE12 | BE15 |
| BE16 | BE27 | BE28 | BG6 | BG18 |
| BG12 | BG5 | LT14 | Y6 | Y18 |
| LT13 | BV11 | RED13 | A30 | DK16 |
| GREY7 | P8 | RE6 | RE18 |
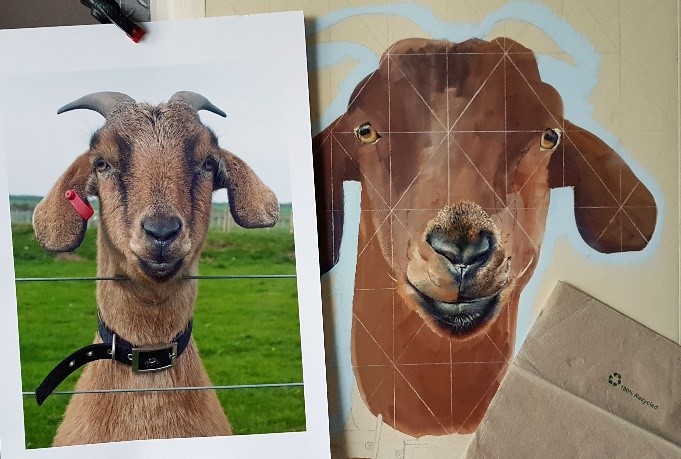
Before I start drawing out I sit with my photograph and box of pastels and I take out the pastels I’m going to use. I will edit this selection as I’m drawing out.
Drawing out and underpainting.
Moving on.
Next, I started working on the eyes, it’s just a personal thing, but the eyes are the life of the painting, they’ve got to be right, I feel committed to the portrait when the subject is looking back at me!
Then the nose and the mouth, working on the skin textures to get a shine and the short bristly hair around the muzzle.
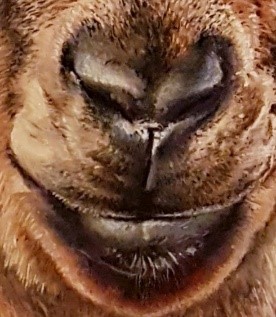
This is where the colour shapers come in, using them to add texture, blend, push the pastel into the surface and also to remove pastel to reveal layers beneath.
From this point I move out from the muzzle and up the face, using small strokes, from the edge of the pastel, all the time following the flow of the coat, building up layers of colour, blending and adding texture with the colour shapers and then adding more pastel and continuing with this process until I’m happy with the effect.
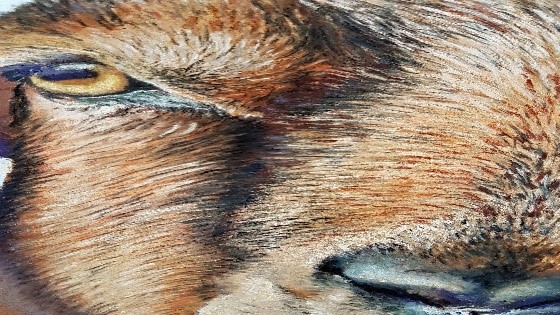
Unless I’m working of a small piece, I don’t work on the whole of the surface, the reason for this is that the pastel dust will fall and stick to areas that I may be working on and can discolour the surface, also I can easily smudge areas with a hand or sleeve. So I work out from the face and quite often rotate the picture, at times working on the side or upside down.
I’ve now completed the face and I’m down to the collar. There are lots of colours in this, there is the metal of the buckle and eyelets, and the texture of the material of the collar, and all of these are picking up reflected light and colour.
You may think that a brass buckle is yellow but once you start to look closely you see the multitude of reflected colours that are really there, don’t assume, take the time to observe.
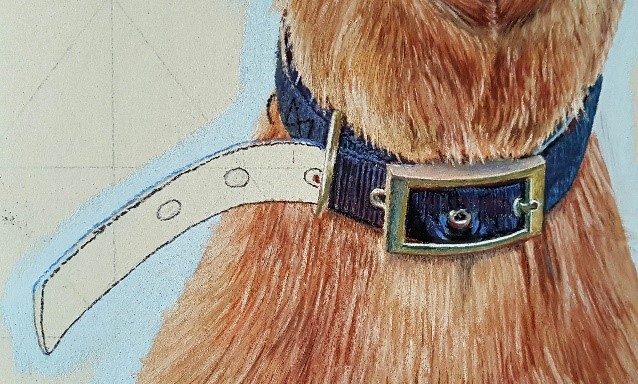
Once the collar is in place I complete the remainder of the neck below.
I then flipped the picture upside down and completed the horns using Y16, YGE15, YGE17, A39, A43, A45, A44, A46, A47 and DK16.
Finally, I complete the background colours, I chose to keep this simple, just using a very pale blue BG5 and pale purple LT14 and blend them in well.
I don’t fix my work, as this can change the colours, also the Fisher 400 holds the pastel well and I always frame with a gutter to pick up any dust.
I hope that this has provided an insight into how I work, together with a few tips.
Others will work differently and my technique will vary dependent upon the subject and surface, this versatility is one of the reasons that pastel is my favourite medium.
Enjoy experimenting & happy pastel painting!
