Easy six step process.
I want to give credit where credit is due. In a workshop with Diana Sanford a few years back, I was introduced to this soft pastel / clear gesso technique. Since then, I have incorporated this procedure in many of my pastel paintings as well as passed this method on to fellow artists. I love the idea of sharing knowledge or lessons learned with fellow artists. I personally use this in my abstract soft pastel paintings and Unison Colour pastels work especially well with this technique. You could use this technique on other mediums as well. For pastel use, the result is an overlay of color on top of color, depth, texture and a visually more interesting painting.
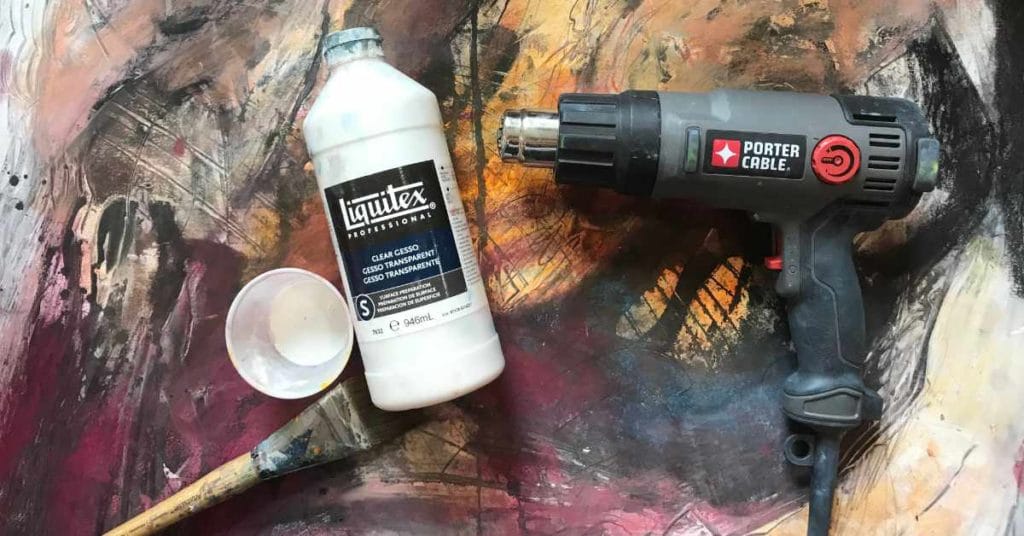
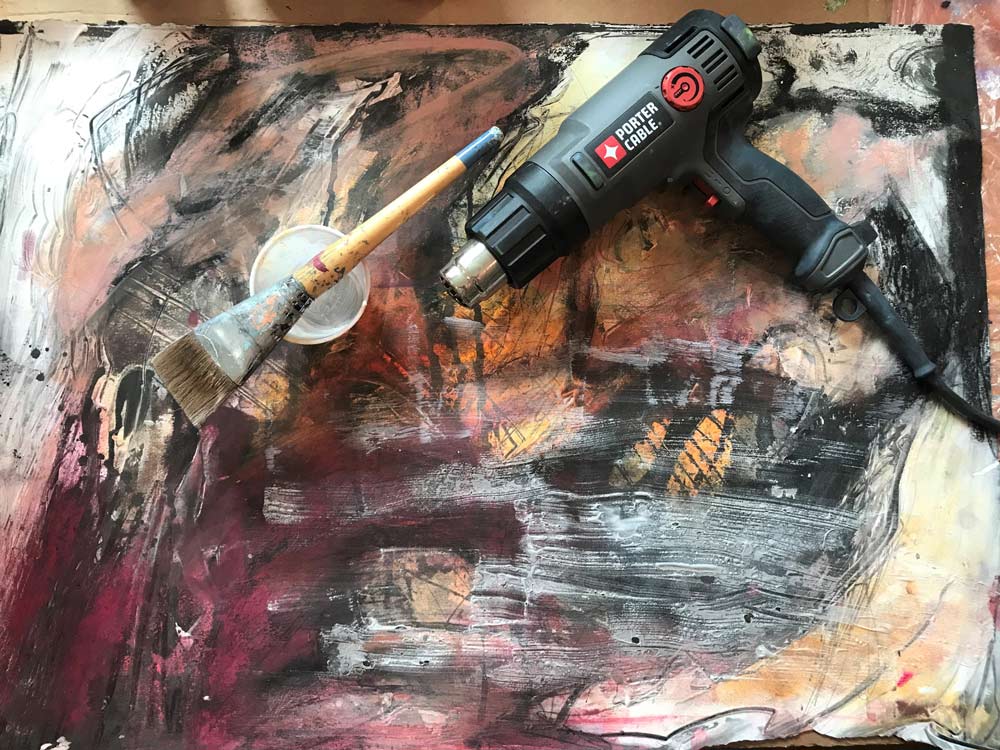
Step 1: Supply List
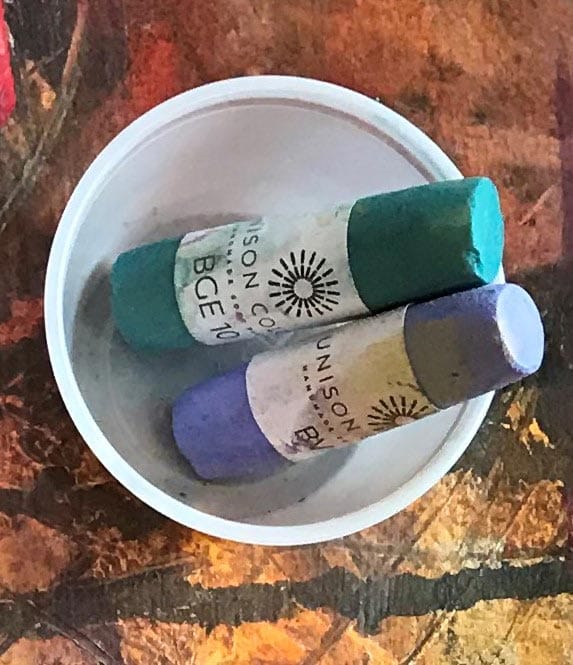
- Soft Pastel(s). I prefer Unison Colour pastels.
- Soft flat wide paint brush.
- Clear Gesso – I prefer Liquitex.
- Heat Gun (not your hair dryer) various brands are available at your local hardware store.
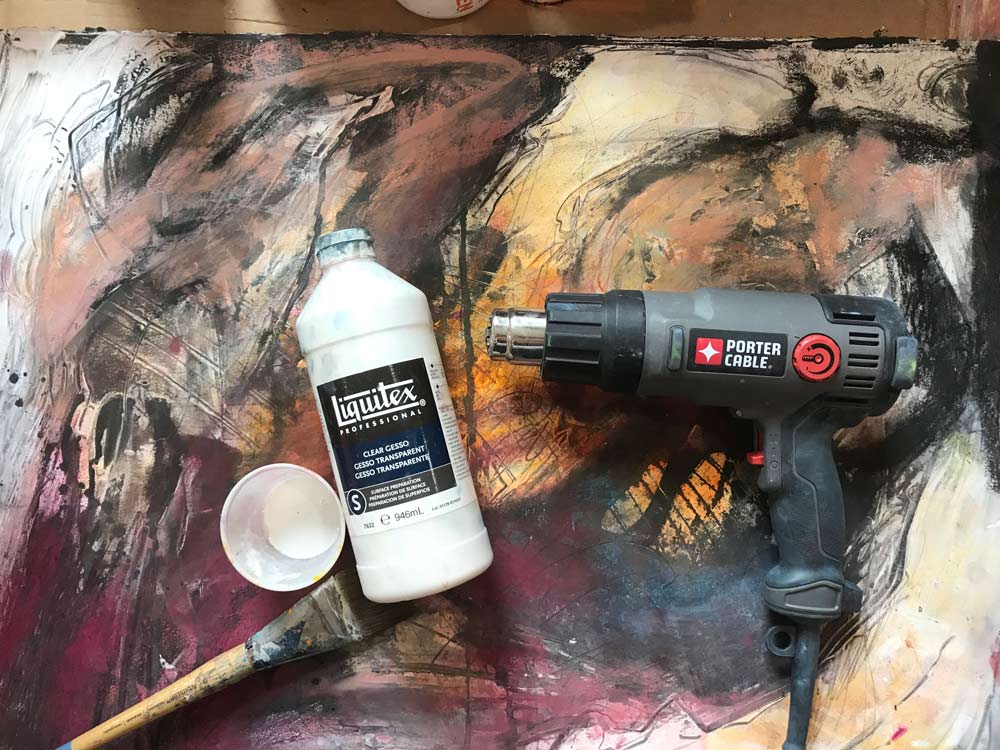
Step 2: Apply clear gesso over art
Pour clear gesso into a container – use your soft flat paint brush to gently apply the gesso on top of your pastel work. Use gentle flat strokes as not to (muddy) the gesso you are applying. Too much pressure with the brush and it can end up looking like mud and lift the pastels off the paper. You want each stroke to be thick enough to cover the areas you want texture, but not applied to excess. Nice smooth layers. Thin layers will dry clear, thicker layers dry a little cloudy, but offer greater texture. It all depends on the effect you are wanting to achieve. I typically will do thin small sections of gesso on different areas of my painting, instead of applying to the whole painting as not to overwhelm the artwork.
Step 3: Applying Gesso, ready for the heat gun
Use the heat gun very carefully, as the tip gets extremely hot. I use the lowest setting on the heat gun. Keep the head gun moving, gentle sweeps across the area you have applied gesso. Do not leave heat gun in any one section too long, the excess heat will buckle the paper. If buckling does occur, after the gesso has dried, place the paper flat with flat weight on top, it will eventually level out. What you will notice using the heat gun is that bubbles, wrinkles, and ripples will emerge. The more times you sweep over a section, the more ripples you will have. Let it sit to cool before applying pastel.
Note: Once done with your heat gun, always unplug it from the wall. Place the tip of the heat gun away from anything it could melt or catch fire as the tip will remain hot for some time.
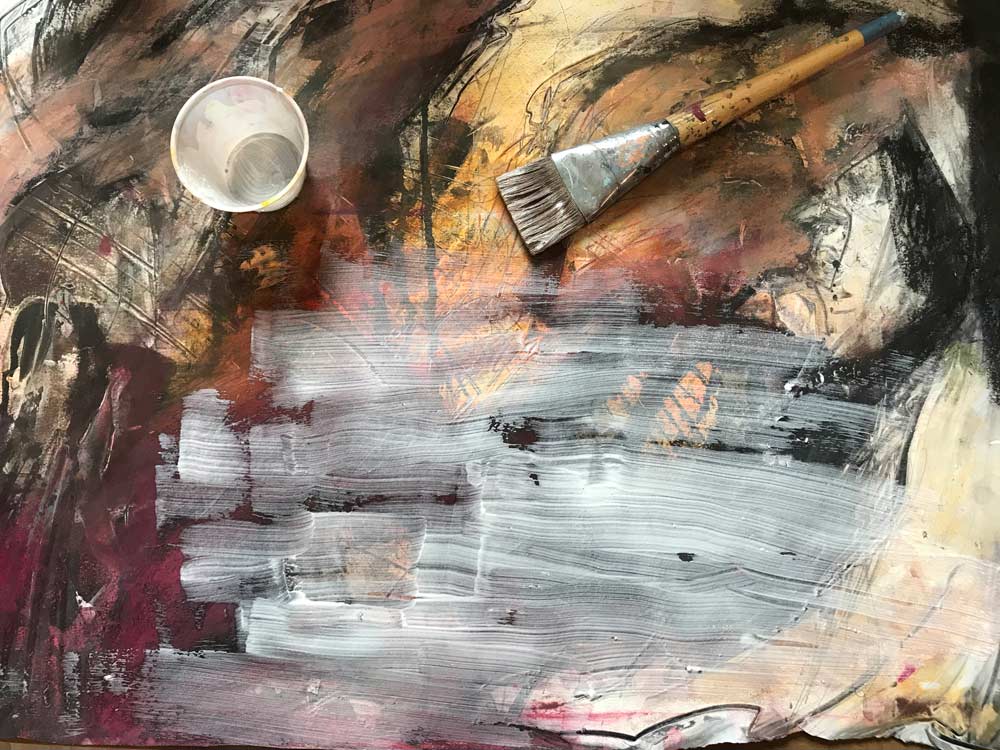
Step 4: Application examples
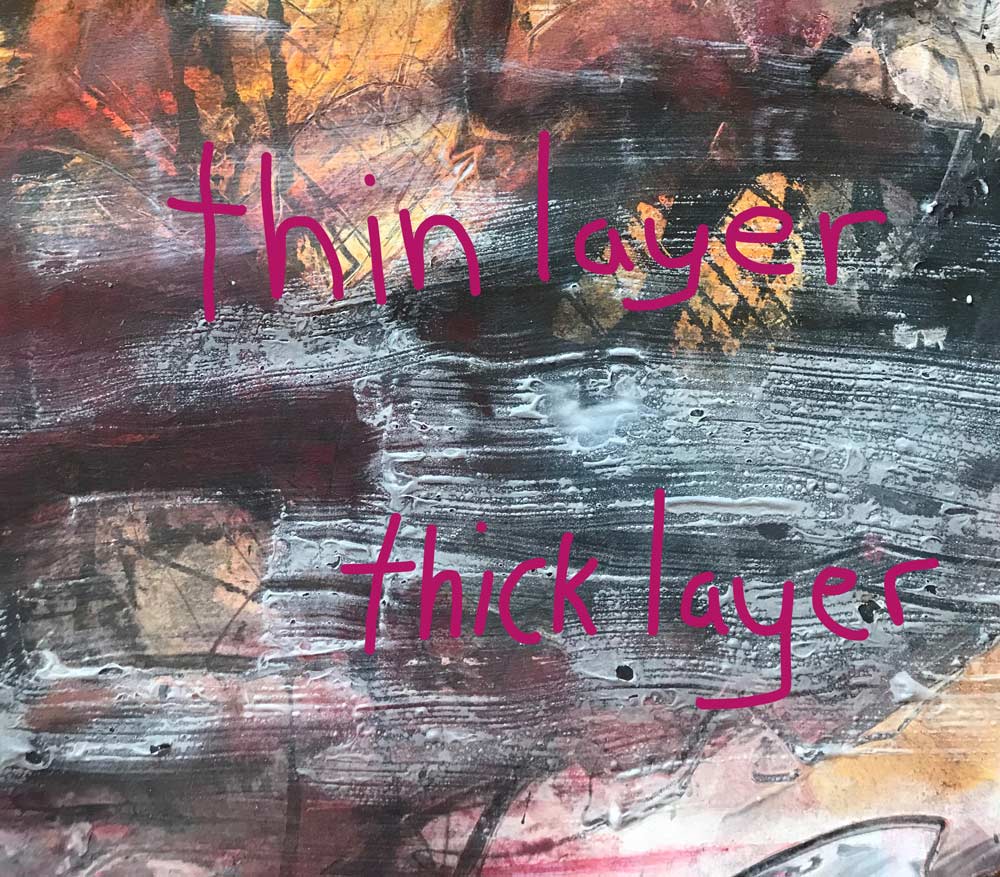
For demonstration purposes, with the closeup shown above, you can better see where I have applied the gesso very thin as well as very thick. The thin area has dried clear, the thicker area is a little cloudy, this is acceptable if you want a lot of texture in your work.
Step 5: Single layer vs. multiple pastel layers
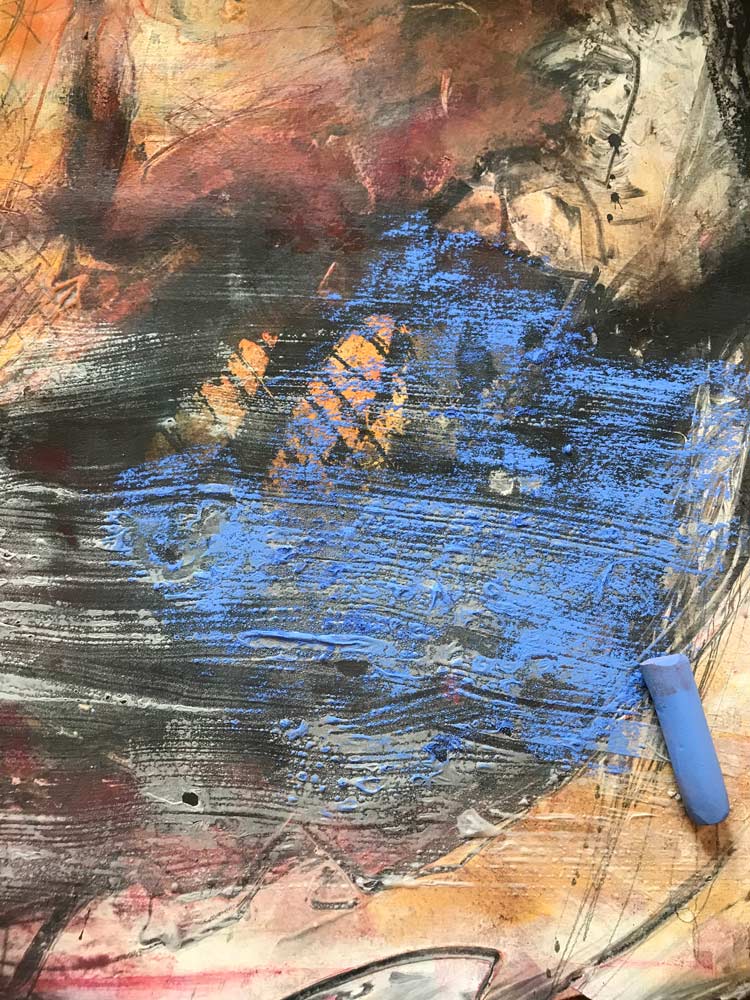
Above you can see the different effects you can create, floating single or multiple layers of soft pastels over the clear dried gesso texture. Whether using single or multiple layers of pastels, the original background colors of the artwork are still visible. Applying thin or thick layers of gesso are really up to you, I suggest lots of practicing before putting this technique into use so you can see the different effects for yourself. I have found there is no wrong way to do this, well unless you have caught your paper on fire, lets hope not! I enjoy incorporating this technique into my pastel paintings as it is a fun way to add depth, texture and make your paintings more interesting.
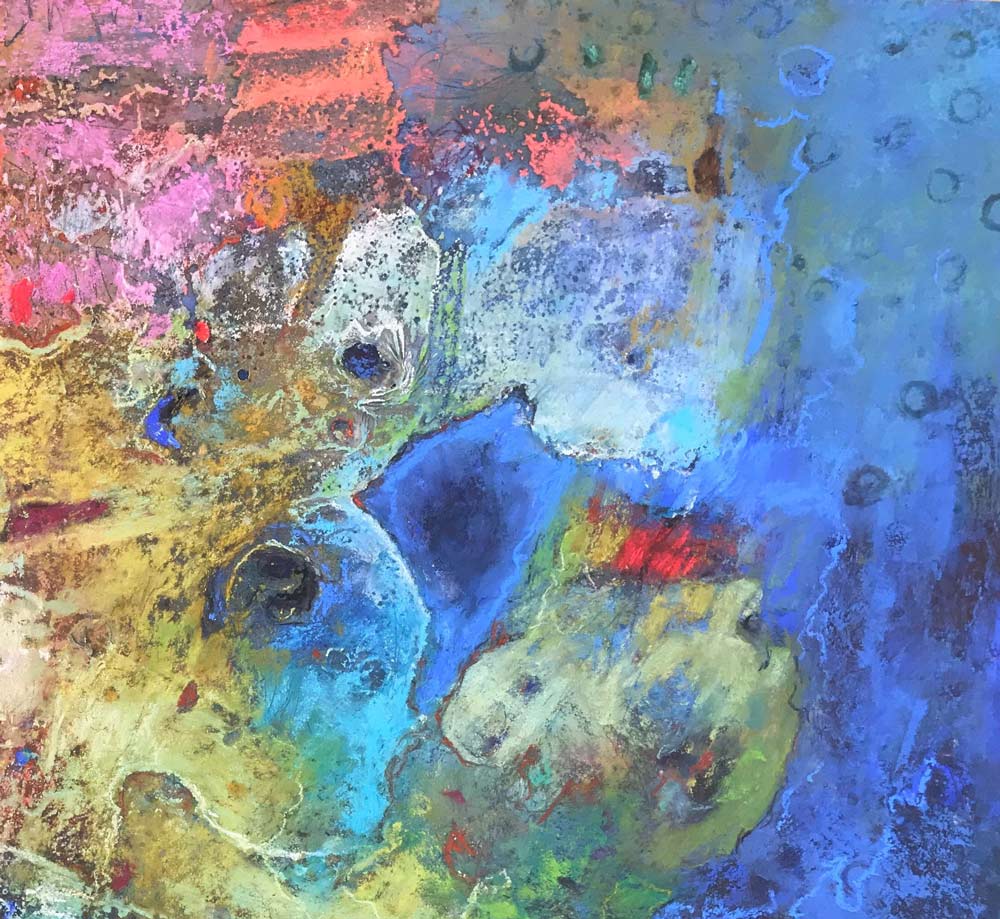
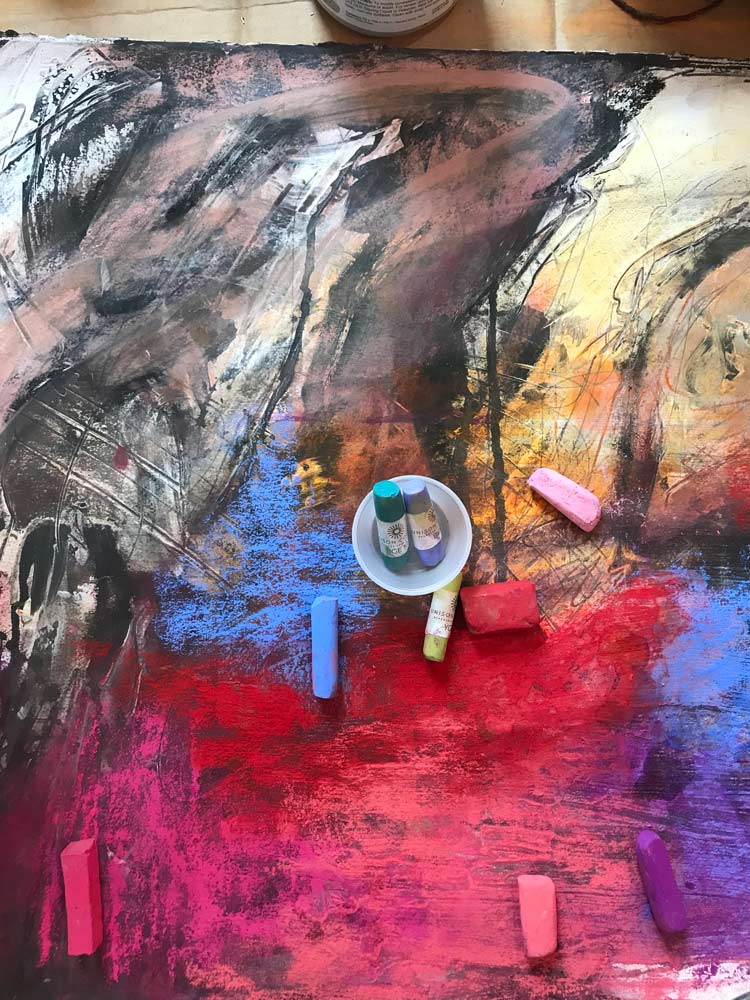
Result; interesting shapes, texture, and depth.
Be safe and have fun, I hope you enjoy this soft pastel and clear gesso technique.


22 comments
Audie
Just found this site, and it answered a gnawing question about preserving soft pastel work before even picking up a brush, sponge, or whatever. Mixed media is something I never considered. I suppose a canvas board would solve the problem of the canvas buckling, and framing all at the same time?! Great site! Thank you.
Jane Frere
Fabulous and the example you posted finally is stunning..I use lots of mixed stuff always looking for surprise and possibility ,but Iv never tried the heat gun other than on wax, so thank you , brilliant!
Stephen Vella
Interesting technique indeed. What type of paper/board is used, to withstand the heating effect, without issues like warping etc ?
Shirley Webb
Love your abstract picture. I use transparent gesso over old watercolour paintings to make a surface for my pastels, and some interesting base colours, but I haven’t tried the heat gun. Tomorrow’s project! Thank you.
Dianne Dykstra
Thanks for this information. Very interesting technique & definitely will try this out at some point.
Maya
This is awesome, Cory! I’ll be picking up a heat gun asap 😀
Janis Schneider
Your work and technique are an inspiration. I paint in watercolor but I just started working in pastel and prefer the more abstract method you are using! I think I could try using the watercolor, pastel and clear gesso together.
Helen Turner
I like this idea! Thank you for sharing, it makes me wonder how I can incorporate this method into my work too! Good post!
Sandy Askey-Adams
This is fascinating. Wondering how it would work on an impressionistic landscape scene.
Susan
Thank you for this great step by step process, Cory! I have heard of the process, but believe your directions will prompt me to try your technique soon. I appreciate the info!!
ArtDreamer
Love the colors of the abstract. I used this technique after watching another artist who uses it to repurpose paper from bad paintings. Scrub off original, apply gesso and paint again. Really lends some nice texture.
Steph
I use Gesso clear on white gessoed decorators lining paper. Let it dry naturally and apply loads of layers of soft pastel as another idea.
Kathy Eaton
Thank you Cory!
This was very interesting and will have to give it a try.
Andrew Moodie
Great blog Cory. Thought I’d heard it all but not aware of that technique. I can imagine it working really well in a stormy landscape scene. Will have a go!
Cory Goulet
Andrew, I bet it would, share a post of your work if you give it a go!
Gillian Pearson
Amazing! Love the effects achieved. Who knew this could be achieved with pastels? Off to buy a heat gun….
Diane O’Connor
Instead of the heat gun, can’t you just leave each layer to dry naturally?
Cory Goulet
Hi there Diane, if you just allow the gesso to dry on its own, it will dry flat vs. textured. The heat gun super heats the gesso, giving random bubbles or burst of texture.
Ali Burns
I thought that at first then realised the point of the heat gun is that it creates texture as it buckles. Presumably you could also create texture by disturbing the gesso as it dries naturally. Scrubbing or combing it perhaps.
Elizabeth Anderson
Do you have any guidance from practitioners on techniques using the landscape selection of pastels. Thanks
Cory Goulet
Elizabeth, give it a try in your landscapes, would add lots of interesting texture to your flora.
Harvey Lago
Really enjoyed tho one for a change. So much more interesting than all your artists so preoccupied with photographic representation!!